How to Deploy Your Node.js Application for free with Render: A Step-By-Step guide
Preparing the app
For this tutorial, we will create a simple rest API that returns the List of States and Local Government Areas (LGAs) in Nigeria.
You can fork this repo to follow along SImple Node app
IMPORTANT!!!
Every application deployed runs on a specific port that Render assigns randomly, You can access that port using process.env.PORT.
So ensure your app 'listens' on that port like the example below.
const PORT = process.env.PORT || 3030;

app.listen(process.env.PORT, () => {
  console.log(`server started on port ${process.env.PORT}`);
});
Creating an account
Head over to render.com and click on the
GET STARTED FOR FREEbutton.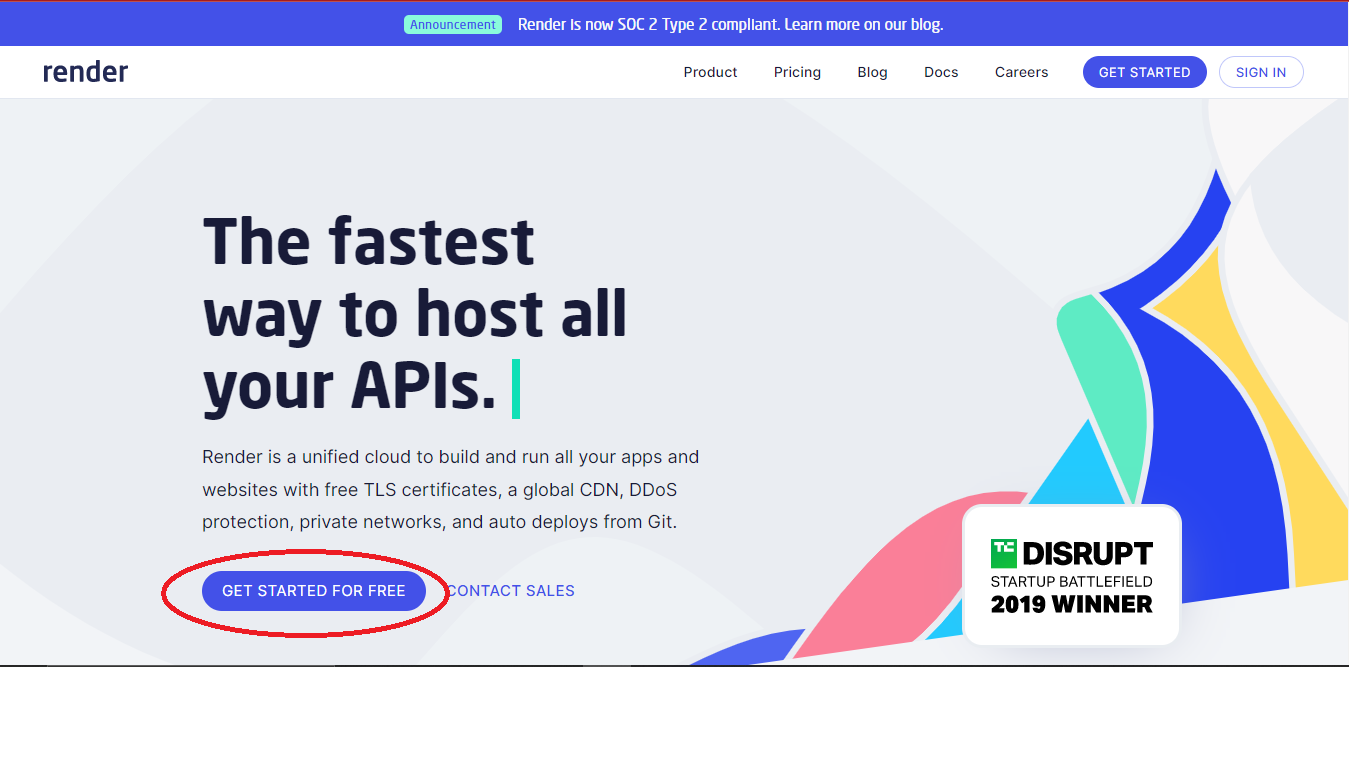
Choose your preferred sign-up option.

Complete the sign-up process and log in. You should see your Render dashboard.
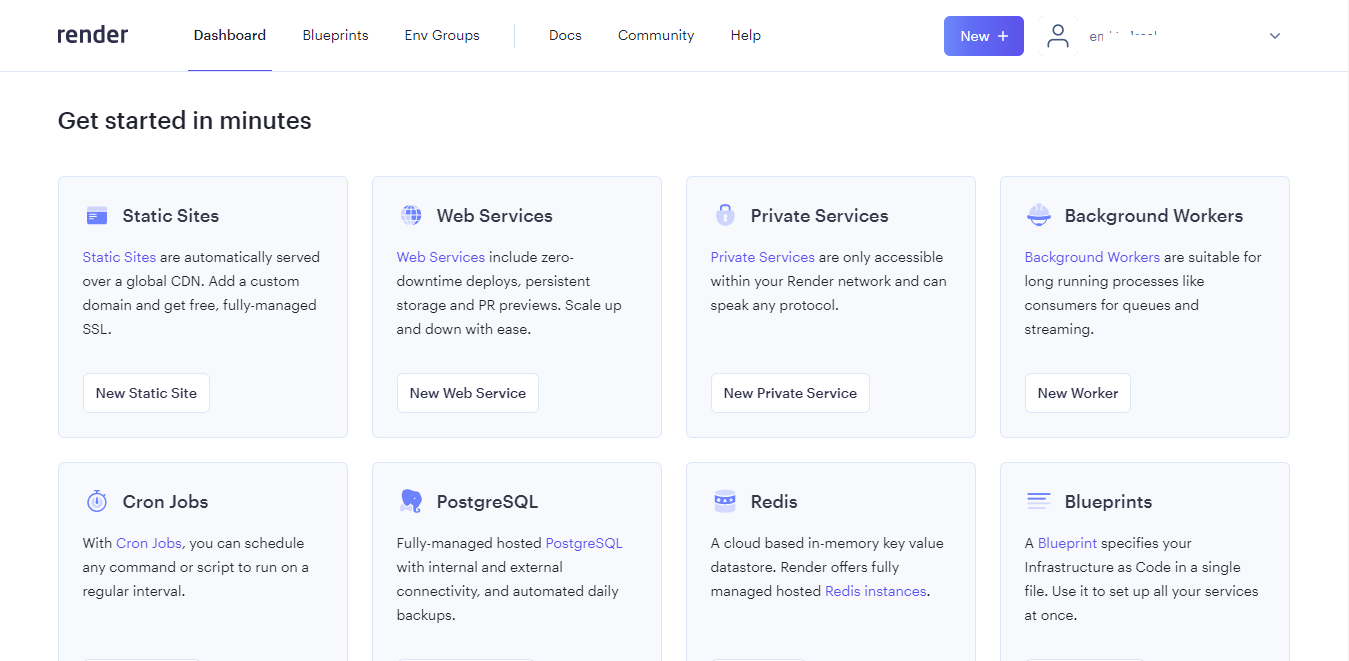
Connecting Render to our Repositories
On your dashboard, click on the
New Web Servicesbutton under theWeb Servicesoption or thenewbutton.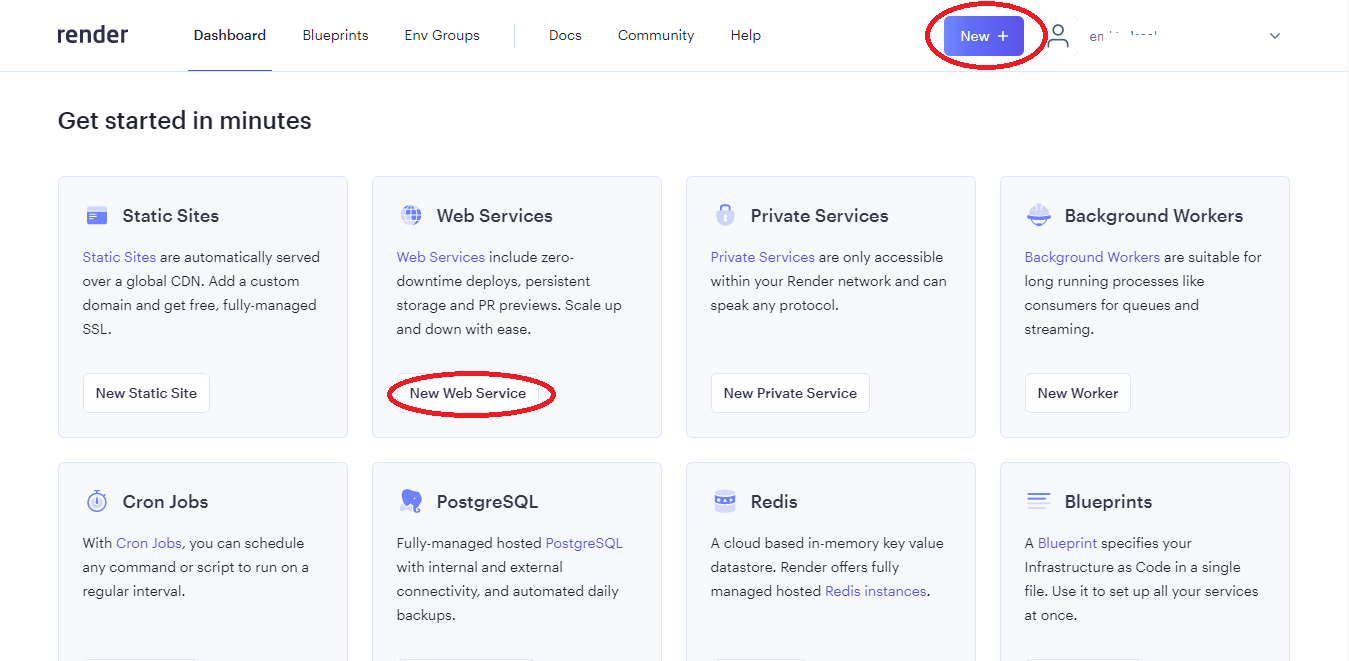
You will see the following page 👇🏾.
Then click on theConnect GitHubbutton (or Connect GitLab if your repository is on GitLab).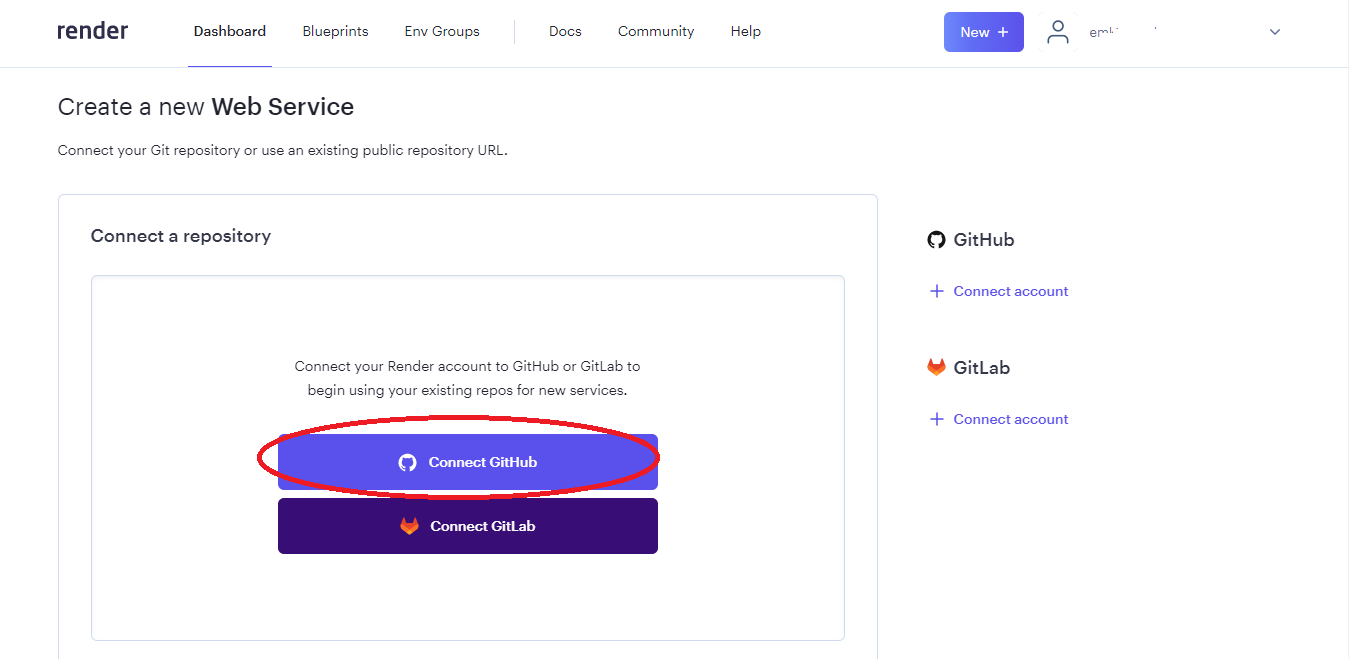
You will see the following screen
Click onAuthorize render
Next, Click on your account.

On the next page, you can permit Render to access all your GitHub repositories or only selected repositories. Select either of the options and click on
Install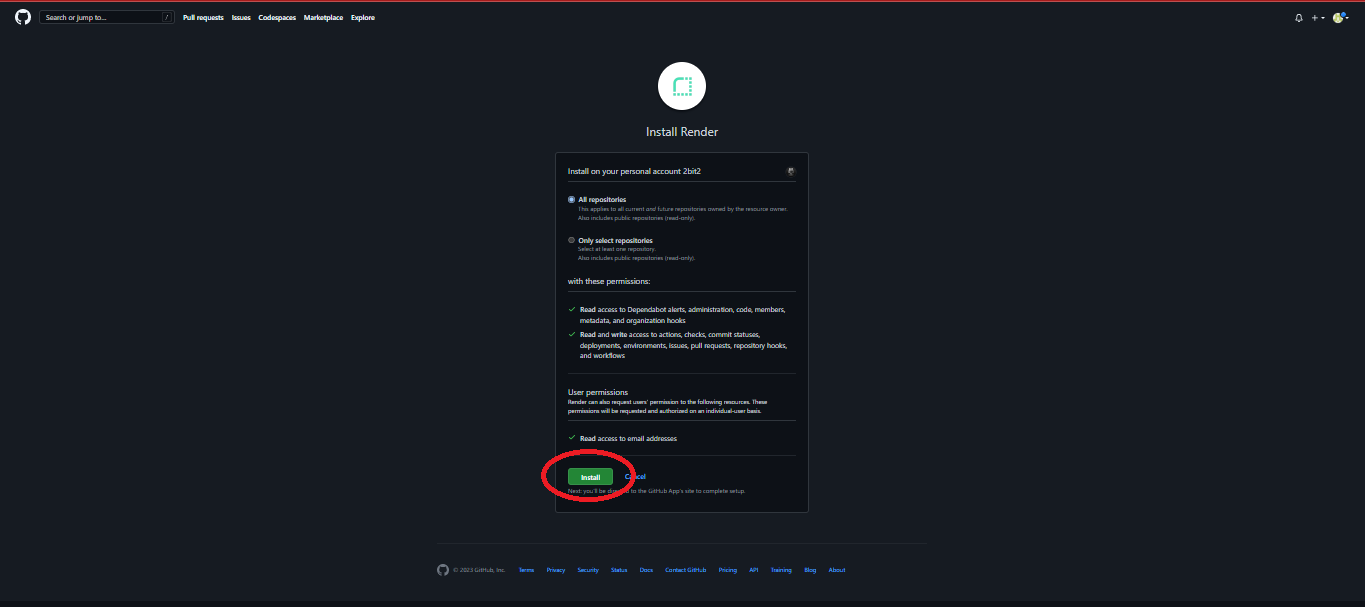
You'll be redirected back to your dashboard and there You will see the repositories you selected.
(click on web services again if you couldn't see them)
Deploying the app
Click on the
connectbutton next to the repository you want to deploy.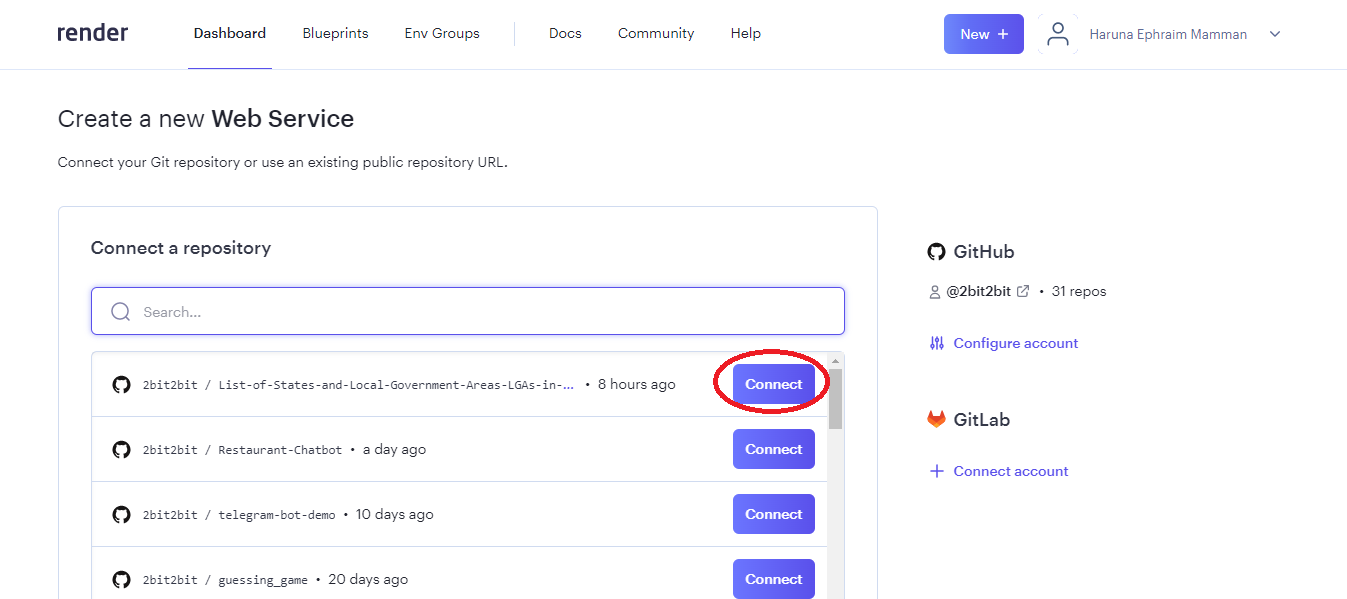
It will take you to a page where You will be required to fill in the following details.
Name: Enter a name to identify your website. make it short and meaningful because it will be part of the URL.

Region: Select one of the options. Selecting the region where your users are can improve load times when it counts.

- Branch: This is the name of the branch that'll get deployed, usually the
mainormasterbranch

- Root Directory: Usually the root directory
./of your repo or./srcdepending on how you structure the directory.

- Runtime: Select
Node

- Build command:
npm installoryarn install

- Start command: This is the command to run your app it can be
node index.jsornpm start

Environment Variables: Scroll down to the bottom of the page and Click on the
Advancebutton to add Environment Variables if needed.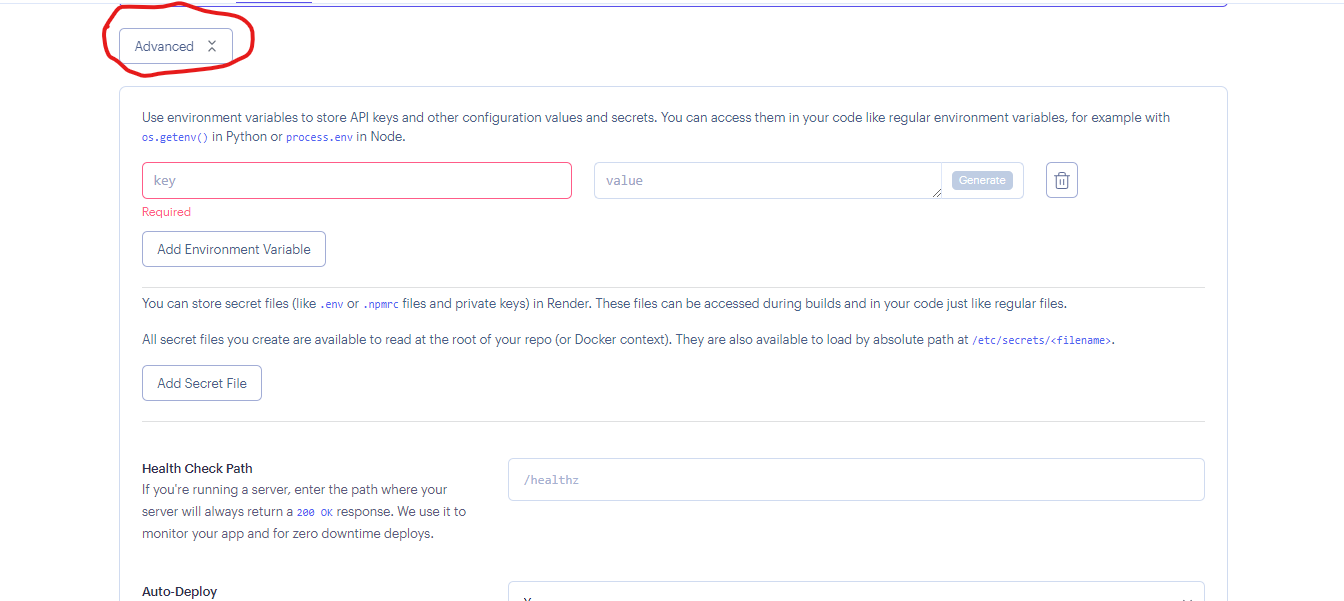
Finally, click the
create web servicebutton this will initiate the deployment process.

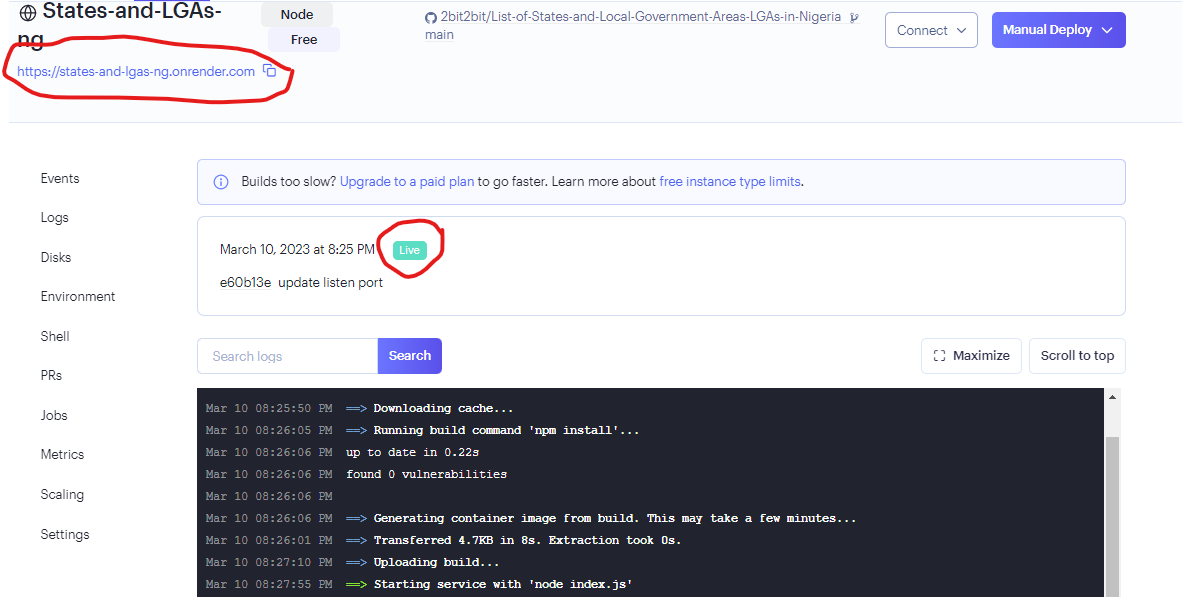
Next, you will see the page below, wait for the process to finish.
The green
livebutton indicates a successful deployment.
A red one indicates an error.Click the link to your deployed application which will be displayed at the top-left of the page.
If you see an error when you visit the page, wait for a while. And then refresh the page.
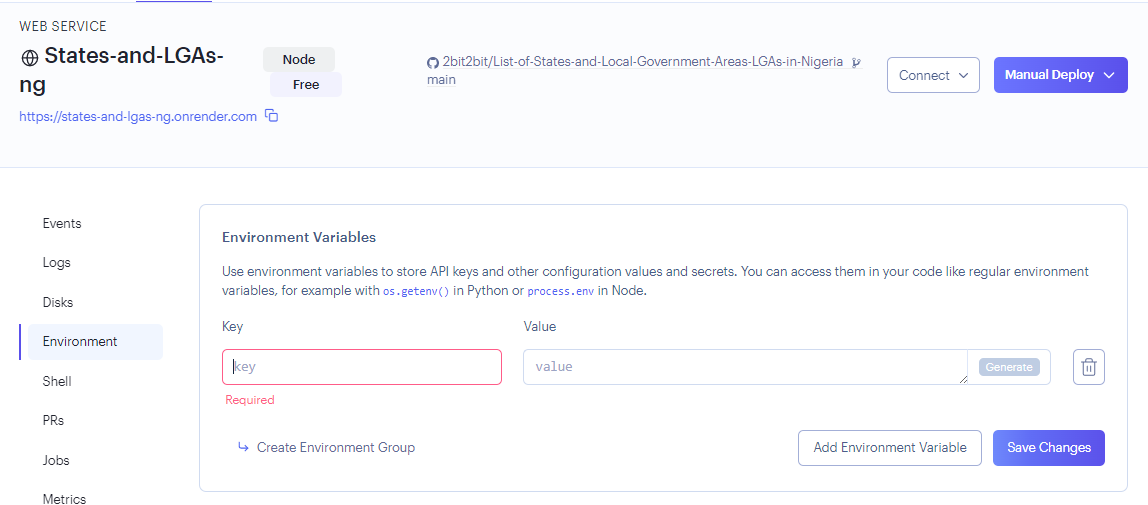
Updating Environment variables
You can add or Edit your environment variables in the environment tab.
Handling Errors
If for whatever reason your deployment fails, or you want to deploy a particular commit, make the necessary changes and you can click on Manual Deploy to initiate the deployment process again.

Conclusion
Well done! you now know how to deploy your Node applications for free on Render.
If you have any questions you can ask in the comment section.
Thank you for taking the time to read.
Reference
https://render.com/docs/#node
https://www.freecodecamp.org/news/how-to-deploy-nodejs-application-with-render/
